Just a quick video walk around of my truck

S10 Projects website is finally getting an update!

Build Updates, New Parts, And Current Progress!

Newest addition, Needs lots of work!

Future project, collecting parts for the build.
Featured Content.

 I still have to sand all the runs out of the driver side and then buff and wax it. There's basically a run all the way along the truck following the body line
  , Also while it was taken apart and things were moved around in the garage it acquired some new paint chips and scratches that need to be touched up. The outside looks good they way it is right now but it could be a lot better.

 We will start part 2 by re covering the upper cloth part by the window. This fabric should come off easily. Take care not to destroy the padding underneath the fabric as we will leave is on and just add more foam to it. Also take care not to seperate the cardboard portion of the panel from the metal portion. If that happens try some 5 min epoxy to glue them back together.
 OK First Gen'ers, when I bought my truck
used there was an unidentifiable substance in the bottom of the map
pockets that had successfully chemically bonded some pennies to the
bottom of the pockets. Since they have that fuzzy stuff on them cleaning
them was almost out of the question. Besides, my wife think that they
make excellent junk collectors! Well I'm doing away with the pockets and
I'm going to be doing it as inexpensively as possible. I am going to be
taking lots of pictures so I'll post them here so you all can follow
along. This is interactive so if you have any questions or comments,
fire away.
OK First Gen'ers, when I bought my truck
used there was an unidentifiable substance in the bottom of the map
pockets that had successfully chemically bonded some pennies to the
bottom of the pockets. Since they have that fuzzy stuff on them cleaning
them was almost out of the question. Besides, my wife think that they
make excellent junk collectors! Well I'm doing away with the pockets and
I'm going to be doing it as inexpensively as possible. I am going to be
taking lots of pictures so I'll post them here so you all can follow
along. This is interactive so if you have any questions or comments,
fire away.
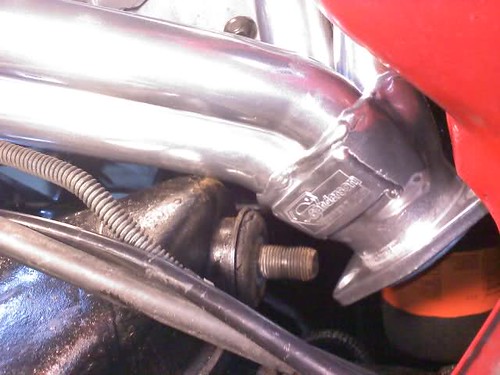
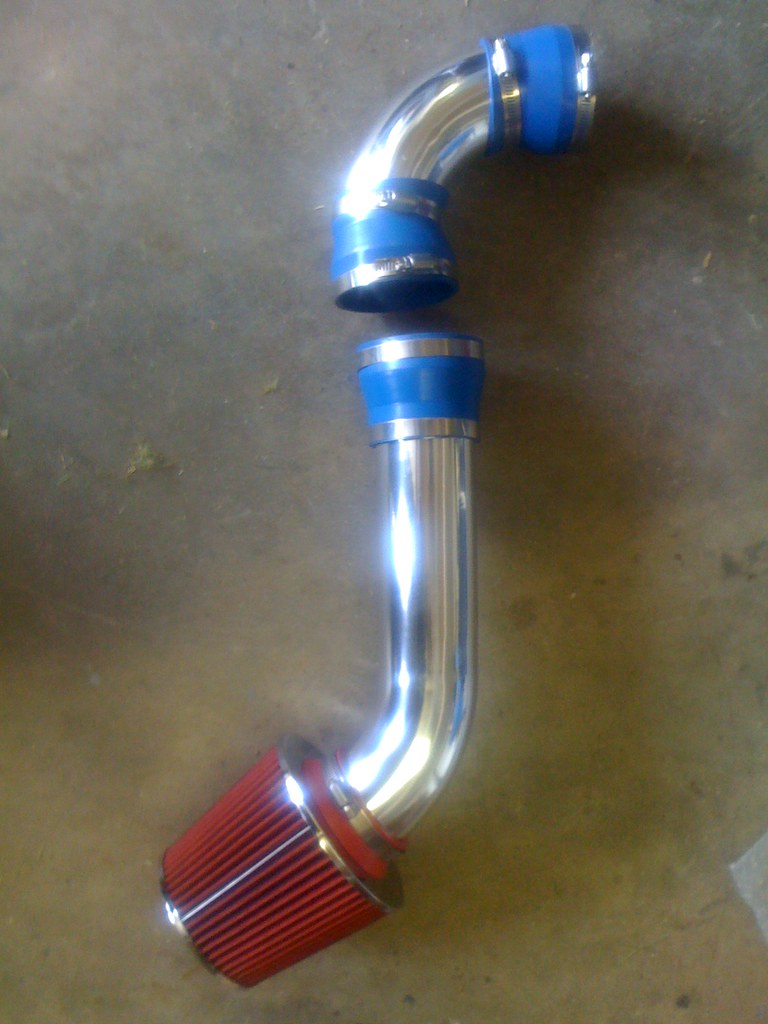
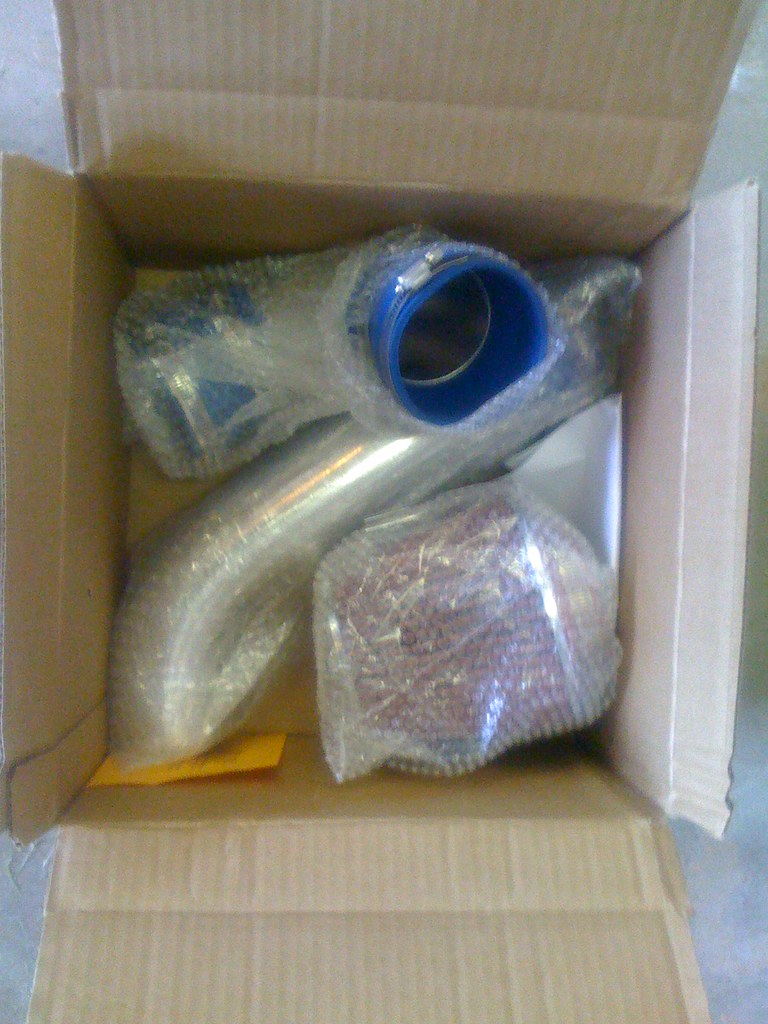 I purchased the intake kit from Ebay seller chromeintakes. I ended up paying 15$ for the intake and 15$ for shipping for a total of $30. The install was very simple and only took 15 min. I did however run into two problems.
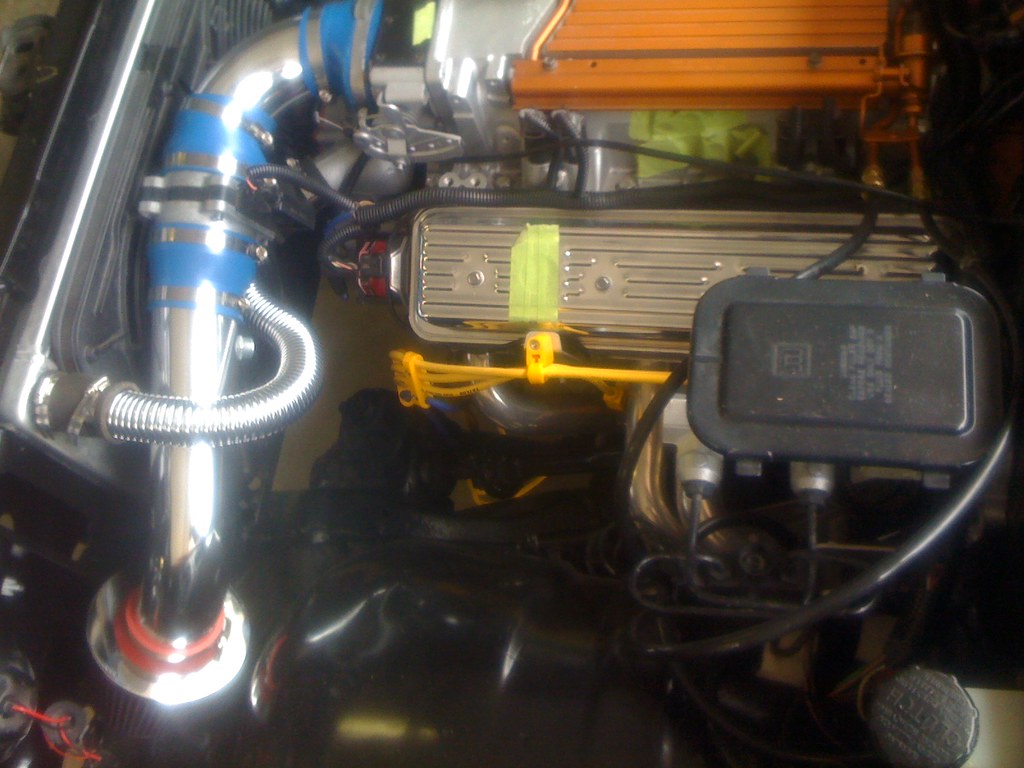
 Ok, I've noticed that every once in awhile, the subject of coilover front suspension will come up, but nobody ever does anything towards it..
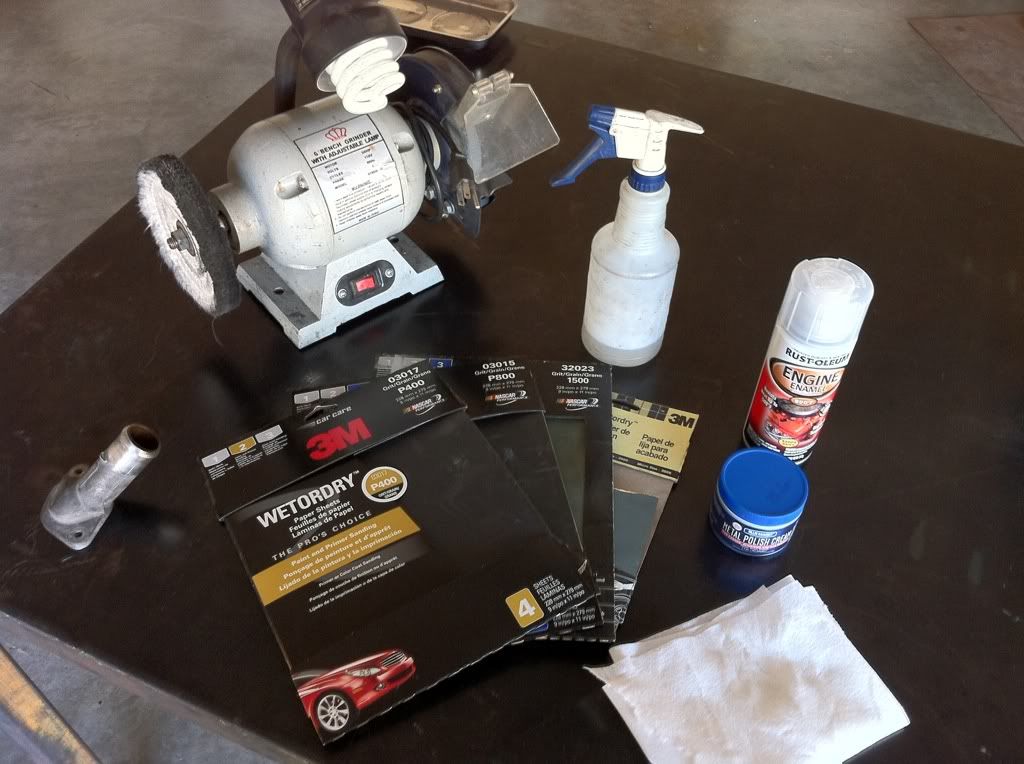 DIFFICULTY: rated at 4, very easy to do but with anything, especially polishing, work + attention to detail X time= results. If you half ass it you get half ass results...that simple.


